Starry night and a free Twinkle star pattern (start of a mini KAL)
This week my boys and I went on a little adventure. It started when I was checking my Twitter feed as I was lying in the bath (like you do) and I spotted a post about the Lovejoy comet that's passing Earth at the moment. Being a bit of a night sky freak (bet you didn't know that about me did you?) I sloshed out of the bath, threw on some clothes, rounded up the boys and headed out to Vernham Dean with my camera and tripod. Vernham is the nearest place I could think of with dark enough skies. We didn't manage to see the comet but I did get a nice shot of the Plough. On the way home to hot chocolate I was thinking about my blog and what I wanted to do this week and I came up with the idea of making a night time mobile with stars, a moon and sheep (to help you sleep obviously). This weeks free pattern is for a star. He's called Twinkle (I wanted to call him Burt but I was told it wasn't appropriate) and he's waiting for you below. Once all the KAL patterns are published I'll be adding this to Ravelry for those of you that like a PDF version.
.jpg)

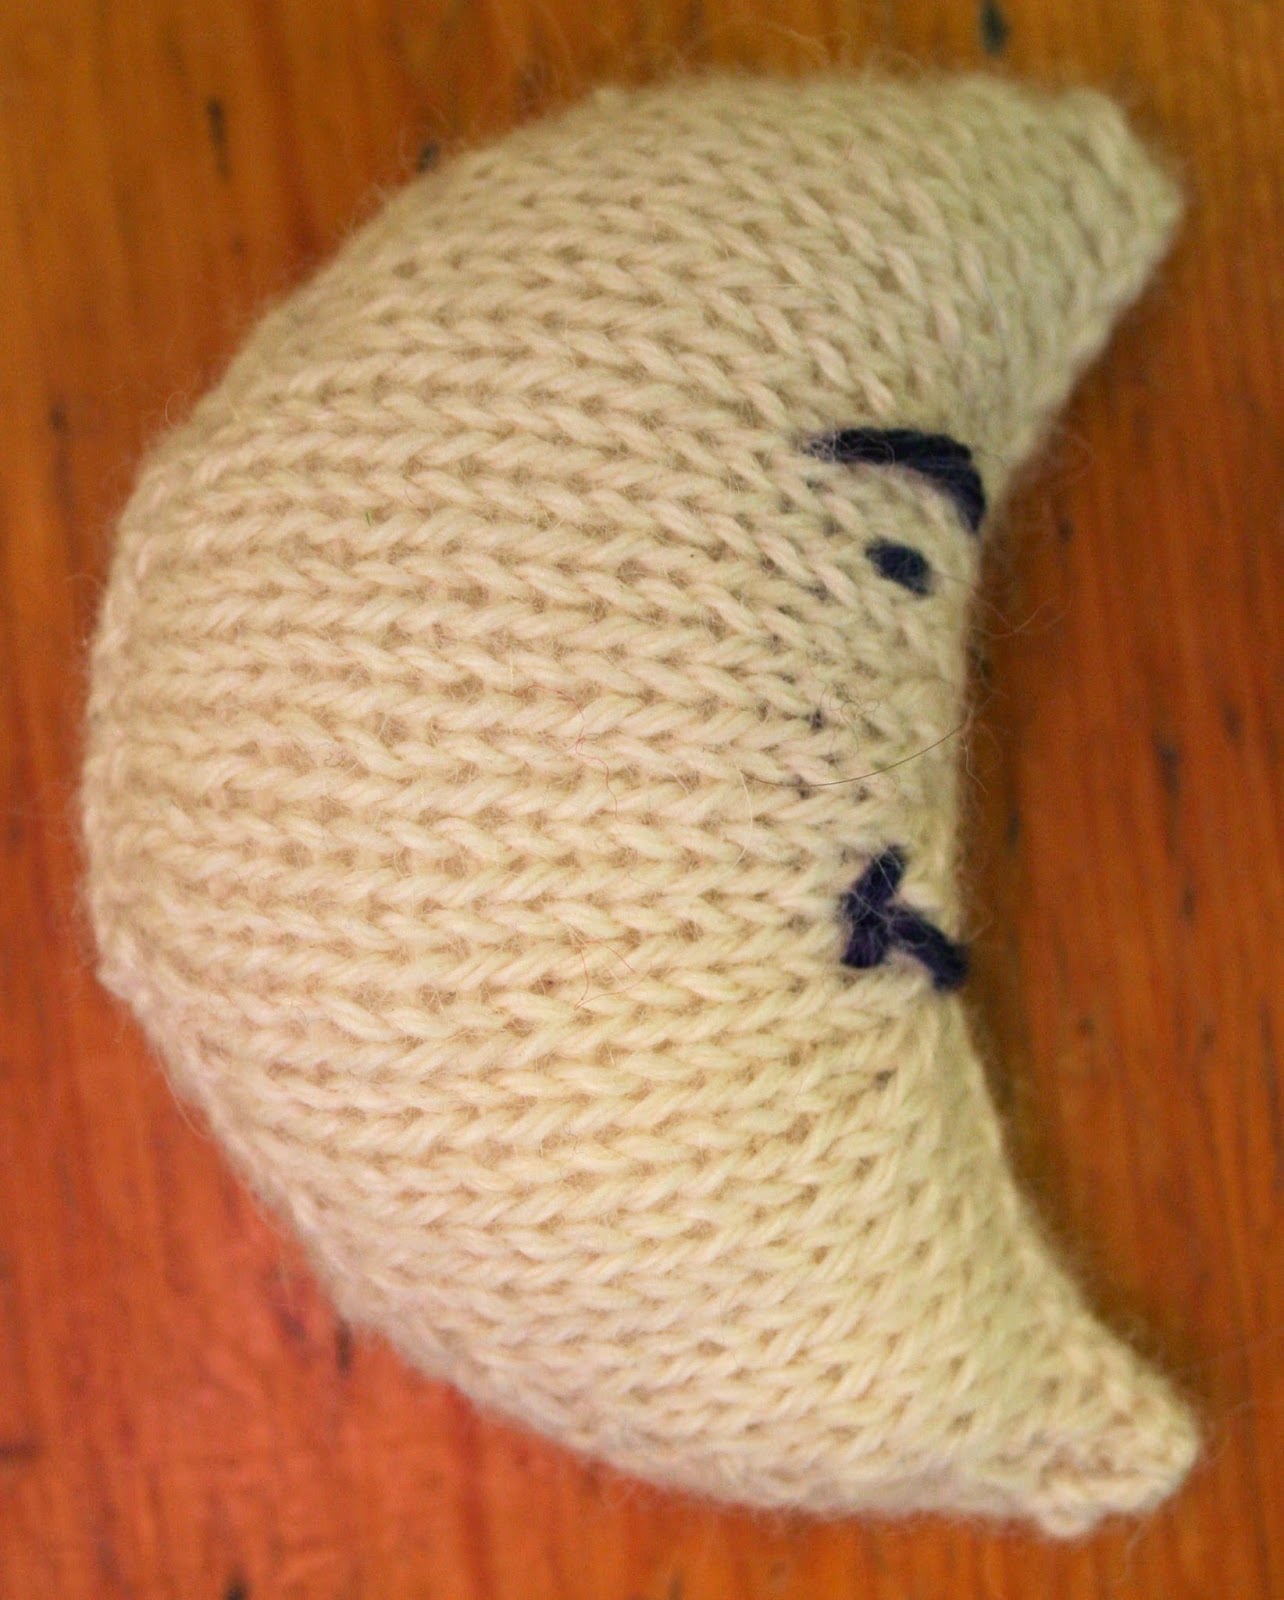
Twinkle Little Star
©Jen Best 2015
I used Petlake Alpaca double knit for this star, and 3.5mm
needles. He came out about 10cm across. You
will also need some stuffing, a small length of dark yarn for the face and a
yarn needle for sewing up.
Abbreviations
CDD - central double decrease. Insert the needle into 2
stitches as if to knit 2 together and slip them onto the right needle, knit the
next stitch, pass the slipped stitches over the knitted stitch
K2tog tbl - knit 2 together through the back loop
K2tog - knit 2 together
m1r - make one stitch right. With the left needle pick up the
bar between the stitches from behind. Knit into the front of the stitch
m1l - make one left. With the left needle pick up the bar
between the stitches from in front. Knit into the back of the stitch.
Make 2 sides. Work in stocking stitch throughout.
Main body (Pentagon)
Cast on 11 sts.
Work 4 rows in stocking stitch.
K1, m1r, knit to last stitch, m1l, K1.
Work 3 rows starting with purl.
K1, m1r, knit to last stitch, m1l, K1.
Work 3 rows starting with purl.
K2tog tbl, knit to last 2 sts, K2tog
P2tog, purl to last 2 sts, pass the left stitch on the left
needle over the right stitch on the left needle (decrease 1 st), P1.
Repeat last two rows until there are 3 sts left.
CDD
Turn the work and work the points following the point pattern
below. For the first point you will only need to pick up 10 sts, not 11 as you
have 1 stitch on the needle already.
Point pattern
With the wrong side facing pick up and purl 11 stitches
across a side.
K2tog tbl, knit to last 2 sts, K2tog
Purl
Repeat last two rows until you have 3 sts left.
Purl
CDD
Fasten off last stitch. On one point leave a very long tail
for sewing bodies together. You only need this tail on one side.
Once you have two sides sew them together using the long
tail. Leave one side open for stuffing. I used an over sew stitch as it gave me
nice definition on the points and edges. I tucked the tails inside
the body as I worked so I didn't need to weave them in, and
they provided extra stuffing. Stuff lightly,
making sure the stuffing is distributed evenly. Over sew the
last side.
Using the dark thread stitch the face on as shown in the
photo.

Comments
Post a Comment