Lurgy, Big Plans and free mittens pattern
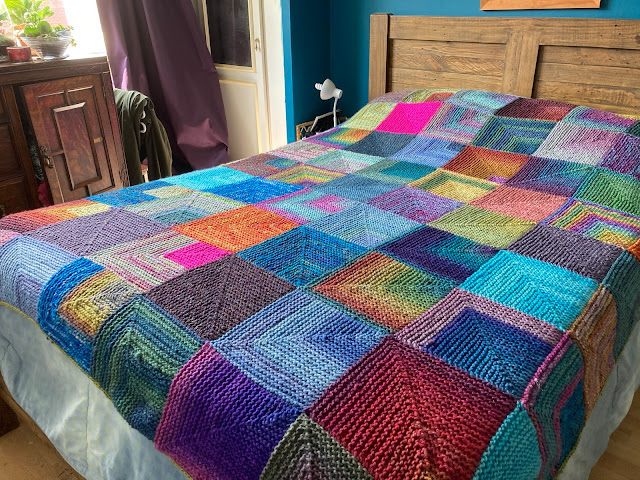
I've got lurgy today. I haven't felt this unwell for years so it's a bit of a cheat post this week. I've been rearranging the shop so I have a working and dyeing area. Somewhere to design and write my third book (knitting patterns this time, with Dorset buttons of course), to dye yarn including our new Mini Skein club, and to build my button kit wholesale empire. So here's the cheat bit. I haven't had time to write up the granny square pattern I'd planned for this post. This is a fingerless mittens pattern I wrote a little while ago instead. It can be downloaded as a PDF from Ravelry here.

Stripy Knitcol Mitts
Abbreviations below
Tension: 5cm x 5cm square = 9 sts x 13 rows in stocking stitch, Size 4m needles or appropriate size to achieve the correct tension, yarn needle for sewing up. 50g Knitcol or similar DK weight yarn.
1 size fits most.
Left glove
Cast on 34 sts
Row 1: *K 2, P 2* repeat last 2 sts, K2
Row 2: *P 2, K 2* repeat to last 2 sts, P2
These rows form a 2 x 2 rib.
Continue in this rib for 5cm (or desired cuff length) ending on a wrong side row
Stocking stitch for 10 rows starting with a knit row.
Thumb: K14, pm, M1, K1, M1, pm, knit to end
Stocking stitch for 3 rows, slipping markers as you go so they remain marking the increase for the thumb.
Next row: K14, slip marker, M1, knit to next marker, M1, slip marker, knit to end.
Repeat the last four rows (stocking stitch for 3 rows and then the increase row) until there are 9 stitches between markers.
Purl next row.
On the next right side row knit to 2nd marker, turn and BL cast on 2 st, purl to the other marker, turn and BL cast on 2 sts, 13 sts in total.
Work 9 rows (or desired length for thumb) using these 13 stitches in stocking stitch.
Cast off and leave a long tail. Use long tail to sew thumb together, weaving in ends and sewing up holes.
Pick up and knit 4 stitches across thumb, pattern to end of row. Continue in stocking stitch across the whole row and for 8 more rows.
Rib 2 x 2 for 6 rows, K2tog across first row of rib
Cast off in rib, leaving a long tail. Use tail to stitch side of mitten together and weave in ends, sewing up any holes.
Right glove
Follow pattern for left glove up to thumb.
Thumb: K19, pm, M1, K1, M1, pm, knit to end
Stocking stitch for 3 rows, slipping markers as you go so they remain marking the increase for the thumb.
Next row: K19, slip marker, M1, knit to next marker, M1, slip marker, knit to end.
Repeat the last four rows (stocking stitch for 3 rows and then the increase row) until there are 9 stitches between markers.
Purl next row.
On the next right side row knit to 2nd marker, turn and BL cast on 2 st, purl to the other marker, turn and BL cast on 2 sts, 13 sts in total.
Work 9 rows (or desired length for thumb) using these 13 stitches in stocking stitch.
Cast off and leave a long tail. Use long tail to sew thumb together, weaving in ends and sewing up holes.
Pick up and purl 4 stitches across thumb, pattern to end.
Continue in stocking stitch across the whole row and for 8 more rows. Rib 2 x 2 for 6 rows, K2tog across first row of rib.
Cast off in rib, leaving a long tail. Use tail to stitch side of mitten together and weave in ends, sewing up any holes.
Abbreviations
M 1 – pick up bar between stitches and knit into it
pm – place marker
BL cast on - backwards loop cast on. With the working needle in your right hand and the yarn in your left, wrap the yarn round your left thumb anti-clockwise from top to bottom creating a loop. Insert the needle as if to knit and withdraw the thumb. This makes 1 stitch.
©Copyright Jen Best 2014

Comments
Post a Comment